After my first, real experience with fondant while baking and decorating my birthday cake earlier this year (which turned out pretty, darn good, if you asked me), I decided to make it my personal mission to become a better baker/decorator.
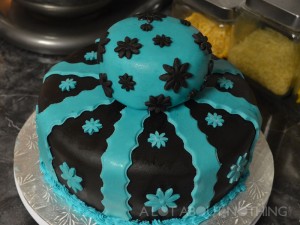
White Chocolate Mud Cake with Fondant
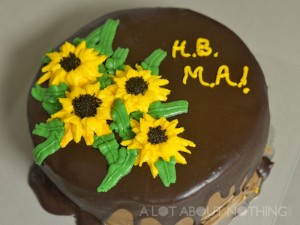
I had a friend celebrate her birthday over the summer, so I tested out a chocolate cake with a ganache icing, while trying to keep in mind some of the tips from the Wilton Cake Decorating Course I did back in July. It came out looking good except for the fact that public transport and the hot weather caused most of the decorations to slide off the top of the cake! At least my friend still appreciated it (and it tasted good).
Chocolate Mud Cake with a Chocolate Ganache and Buttercream Icing
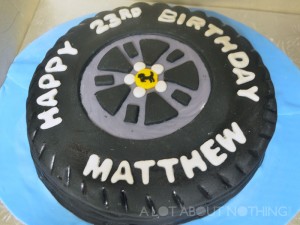
My little brother turned 23 earlier this week, so the job of bringing the birthday cake was delegated to me by my sister. I baked a chocolate buttermilk cake, and used black fondant to design it in the shape of a tire. Now originally my she wanted me to make the cake into a shape of a Ferrari, but I informed her that I wasn’t an expert as yet. My little bro happily settled for a Ferrari tire (I even painted on the horse on the logo with food colouring). Yeah, it looks like the tire is a little flat, but beggars can’t be choosers!
I don’t know how all these bakers and cake decorators cope being surrounded with all that cake and sugary icing. I just finished my 4-day, intensive Wilton Cake Decorating class at my local Michael’s store. Although I had a blast learning all these cool decorating techniques, bringing home cakes and cupcakes for the past few days sucks when you’re struggling to stick to a new diet.
My level 1 decorating basics course only cost me $22.50 (Michael’s has a promo going on this summer for their classes). But what I saved in course fees I made up for with decorating supplies. Who knew there were so many gadgets and gizmos when it came to making a cake look all fancy? I splurged on the Wilton Ultimate Decorating Set (thank goodness I had one of those 50% off coupons), and it includes all the basics I need for each of the four Wilton courses I plan to take.
Baking is one of those things that I always wanted to be better at. Since childhood I’ve loved art and design, so I figured why not mix it with my love of food?
Each class was two hours long. Our instructor, Amy, was very knowledgeable and helpful. There were about six of us in the class. On day one we got familiar with filling a bag with icing, it’s various consistencies, and the different decorating tips that can be used.
Day two had us getting a firm handle on working with cakes (leveling, adding filling, icing), using pattern transfers and creating borders.
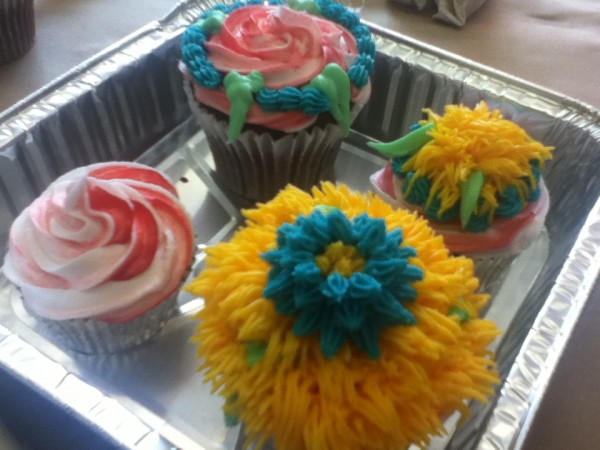
Day three was fun, as we got to work with cupcakes. I made some red velvet ones (from the package), and we learned how to make pom-pom flowers and shaggy mums. We also got introduced to the flower nail.
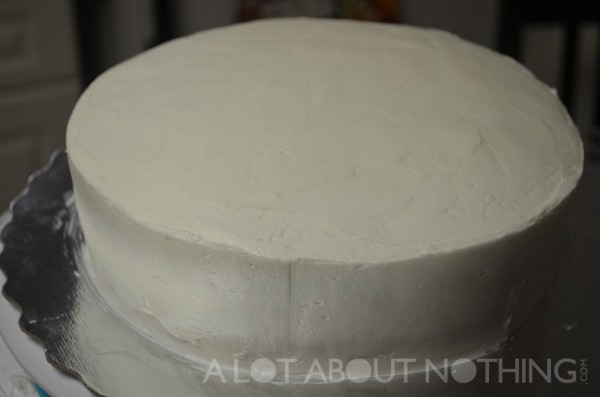
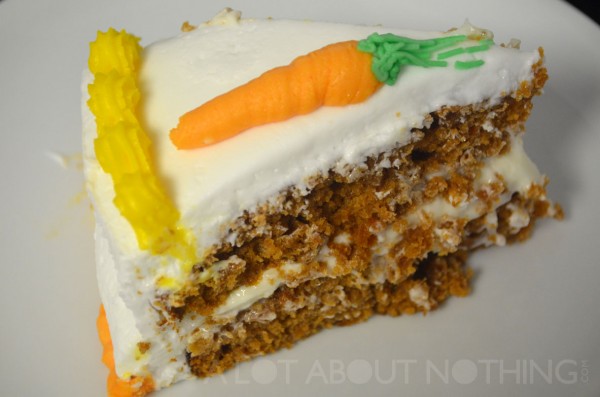
The last class we were asked to bring in a cake that had already been filled and iced so that we can decorate it with what we’ve learned over the past few days. I made a carrot cake and filled it with some cream cheese and coconut filling. It came out pretty good, if I do say so myself. That is until I got off the subway and noticed it was doing a slight leaning tower of Pisa thing (too much filling I suppose).
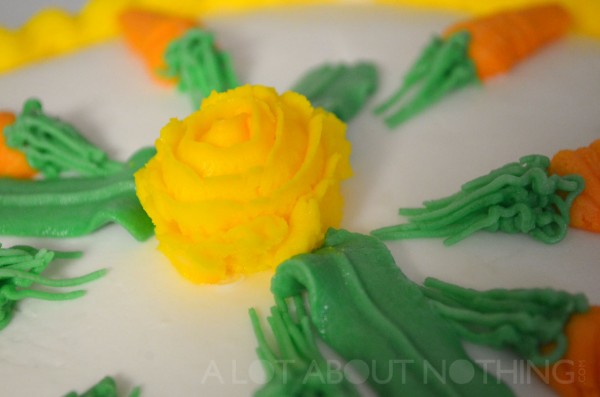
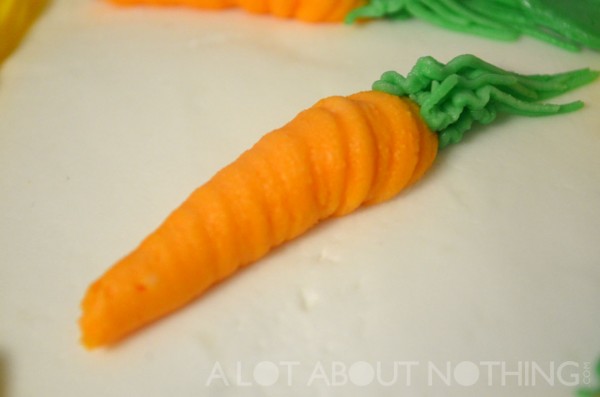
I went on the Wilton website prior to class and was able to find out how to create a carrot shape using two different tips. I added a rose that we learned to create in today’s class and voila! Not bad for my first, real buttercream-frosted cake.
Filled, iced and ready to go!
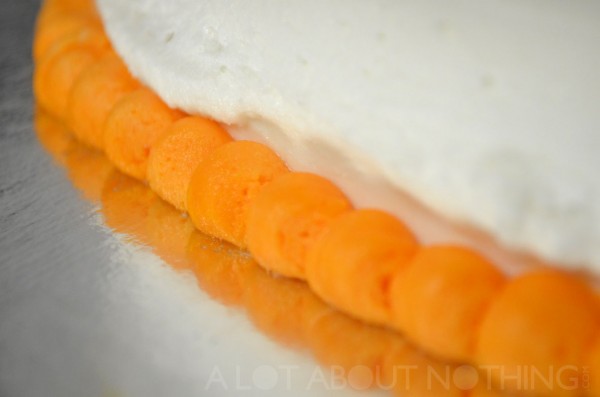
Bottom border was made with a #2 tip.
The Wilton Rose. I think my icing was a tad too stiff, as to why it’s cracking.
I love these buttercream icing carrots I made with tips #12 and #233.
A little lopsided with room for some refinement, but I think I did a decent job!
Delicious!
These are some of the red velvel cupcakes I decorated in class 3. It was fun working with all those tips!
I’ll definitely be taking the rest of the classes in this series, though I can’t wait for the fondant class, as I seems to be a bit easier to work with than buttercream icing.
So as I was leafing through a copy of Metro I ran across a recipe for a pineapple upside-down cake. And not just any pineapple upside-down cake: a Jamaican pineapple upside down cake! So natually I had to tear the recipe out of the paper. I tried out the recipe a couple weeks ago and it came out superb. I think the last time that I attempted to make a pineapple upside-down cake was when I was 8-years-old. This recipe is adapted from Lucinda’s Authentic Jamaican Kitchenby Lucinda Scala Quinn. I used less granulated sugar than the white cake portion of original recipe suggested (about 1/2 cup instead of 3/4 cup) and it still tasted great, with just enough sweetness (esp. because of all the brown sugar on top). Instead of vegetable oil I used Canola oil, and instead of whole milk I used 2%. I also added some maraschino cherries in the pineapple “holes” to add to the visual presentation. I used the Earth Chef‘s awesome 11″ skillet to bake this recipe in, so make sure that you have a skillet that’s oven safe. This recipe will definitely be a hit.
Yield: 8-10 servings
Ingredients:
1/4 cup unsalted butter
1/2 cup packed dark brown sugar
14 oz (400 mL) can pineapple slices
1/2 cup pecan halves
1-1/3 cups all-purpose flour
1/2 cup granulated sugar
2 tsp baking powder
1/2 tsp salt
3/4 cup milk
1/4 cup vegetable oil
1 large egg
Finely grated zest of 1 lime
1 tbsp lime juice
1 tsp vanilla extract
Directions:
Melt butter in 10-inch, cast-iron skillet on medium heat. Remove from burner. Sprinkle in brown sugar evenly. Arrange pineapple slices in pan (8 slices fit in my pan). Place one maraschino cherry in the middle of each pineapple ring. Arrange pecans in the remaining spaces around pineapple rings.
In large bowl, whisk together flour, granulated sugar, baking powder and salt. Add milk and oil. Beat with electric mixer on medium speed 1 minute. Scrape bowl. Add egg, zest, juice and vanilla. Beat just until well combined.
Pour batter evenly over pineapple in pan. Bake in preheated 350F oven until tester inserted into centre of cake comes out clean and top of cake is golden (about 25 to 30 minutes). Remove from oven and let the pan sit for 5 minutes. Carefully invert onto circular platter. Eat warm or at room temperature.
I’ve been there a few weeks ago and I’m from The Netherlands so i should know how it would taste and I got a apple crumble pie and it was the best I’ve ever had little expesive but okay it was delicious!


on August 11, 2016